Wednesday, June 30, 2010

Wild Flowers?

Well, it's hard to tell now what exactly is growing out in my garden. It looks like more weeds than flowers...but then again, aren't wild flowers basically weeds that look pretty in bloom? Hmmm, I guess we will have to wait a bit longer for the beautiful rainbow of color that's supposed to be out there.


I just hope it doesn't all turn out to look like this. I had to spend a few hours pulling all of these kinds of weeds already...

Saturday, June 26, 2010

Plant Book!

I have started a huge but satisfying project! I am going through my plant lists from the last year and picking my favorite plants to collect. For instance, I have collected all the Maples and Viburnums that I learned in the first semester.


I am pressing the leaves I collect so they can be preserved. When I finished collecting and pressing all the plants, I will begin making The Book!


Each page will have a few pressed leaves--showing the front and back of each leaf. I will type up a little paragraph for each plant that gives the scientific, family, and common names of the plant along with important features that are used to correctly identify the plant.


I will put those pages in plastic page protectors and put them in a large binder. I plan to continue collecting plants later in the year so I can hopefully make pages of the same plants with their beautiful fall color.


It will be fun for me to look through the book later to remember and brush up on the things I learned, as well as to teach my kids! And if you come over to visit I'm sure will get to see it too!

Friday, June 25, 2010

Foil Pita Pizza!

For this week's activity my class of girls met at the park and made Pita Pizzas for dinner. We aren't able to have fire at the place we have Girl's Camp, so we had to take care of our cooking certification before we go to Girl's Camp. It was a fun activity and very simple to put together. I am looking forward to making these again with my family sometime.

Pita pocket bread
Pizza sauce
Pepperoni slices, ham, etc...
Mozzarella cheese
Olives
Heavy duty aluminum foil

1. Open pita pocket and spread about 1 tablespoon of sauce inside.

2. Fill pocket with meat, cheese, and whatever else you like.

3. Wrap in foil and seal well. (You may want to spray the foil with Pam first to help it not stick.) Set on coals (or camp stove) for 3-5 minutes per side.

4. Open foil and enjoy your dinner!


(Sorry, this is not my picture...I forgot the camera so I found a picture online.)

Wednesday, June 23, 2010

More Goodies!

I tried some more recipes from the fabulous Sister's Blog. And I found another blog with good recipes too!

Click on the links and they will take you to the recipe on the original blog.

Magic in the Middle Cookies


That picture makes the middle look kind of yellow or green, but it's really just the peanut butter middle and it doesn't look that color in real life. These are a delicious variation of peanut butter cookies. They take a little extra time since you have to roll a ball of peanut butter dough and then roll a ball of chocolate dough to put around it. It would probably be a fun activity for kids, and they are well worth the effort!


Double Chocolate M&M Cookies


These cookies are delicious also. The dough is more like brownie badder, and the cookies kind of flatten out a lot when they bake. I was thinking of playing with the recipe a little so they don't get so flat...maybe take out some of the butter. It's fun to save some extra M&M's to put on top of the cookies before you stick them in the oven. That makes them look pretty after they bake. Oh, and the recipe says to melt chocolate in the microwave, but I thought it was easier to just use chocolate chips and melt them with the butter in a pan on the stove.

Sunday, June 20, 2010

Greg Graduated!

Sorry, this is way over-due. It seemed to all happen so quickly and then we were off to La Grande and Gig Harbor to celebrate in the following weeks.

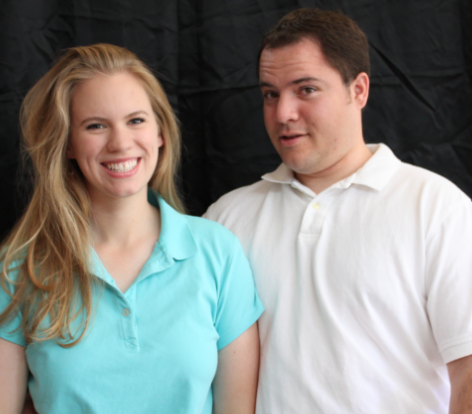
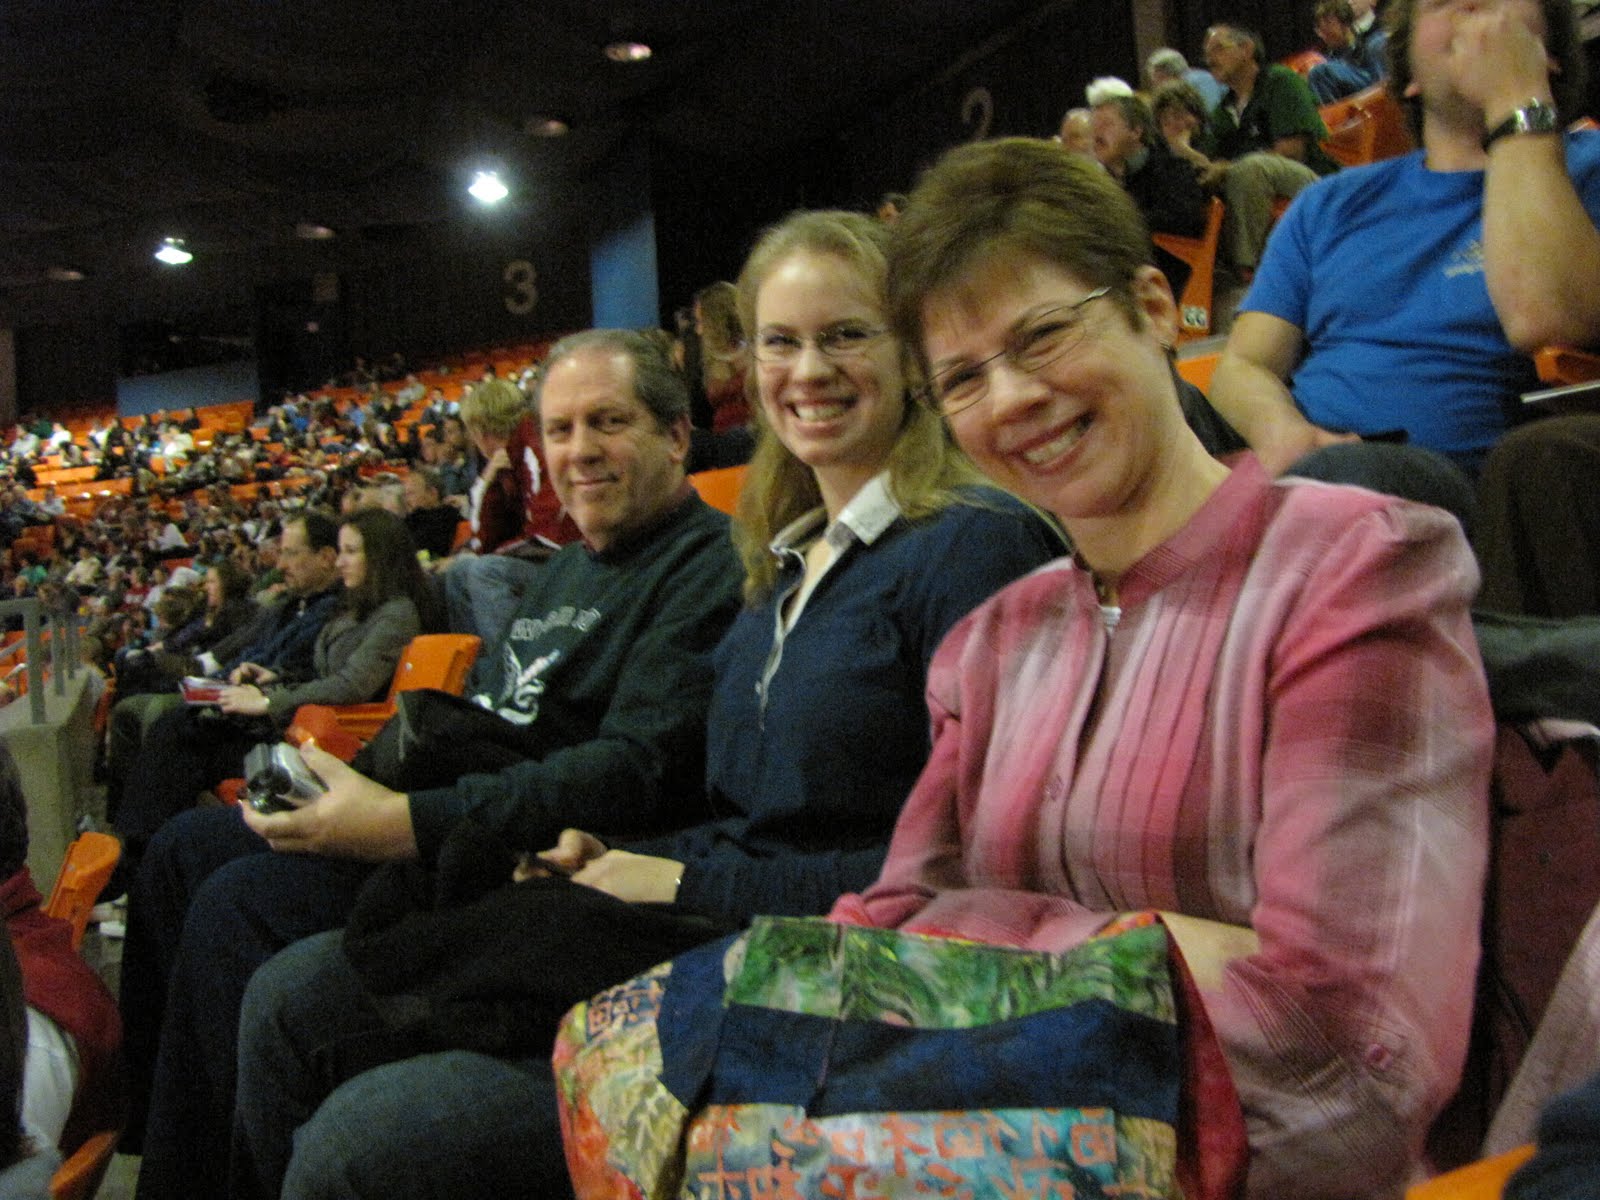
Greg graduated from WSU on May 8th as a Mechanical Engineer. My parents, Greg parents, and his brother, Michael, came for the occasion. It was fun to have family here with us for the big day!


It was quite a production!


That's Greg on the big screen when he received his diploma.


Greg sewed robot parts on his cap. They symbolize the hours and hours spent designing and building robots at WSU. (That is part of "The Claw" from last year.)


After the ceremony we all went to the engineering building so Greg could show us around and say goodbye to the place that was practically his home for the past 3 1/2 years.


Greg is posing in front of one of the many posters he made for the ASME club. He served as president, vice president, treasurer, secretary, and industry relations officer.


Here's Greg sitting at the Presidential desk in the ASME office. That was a neat and exciting time, but I'm glad it's over. It's nice to have Greg home at dinner time and be able to spend time together. I missed him a lot during the last two years of school.


We made it! Now we have to work on getting me to graduation too!


The big question is when and where Greg will get a job. He has applied to a number of companies in WA, CA, and Utah. Wish us luck and say a prayer for Greg to get a good job soon! (...and hopefully we live next to a good school so I can finish too!)

Birthday Sweater

I felt like a ballerina for some reason in this outfit. Anyway, this is the nice sweater I got from my Mom for my birthday.


I discovered this combination of clothes last night when I was trying to come up with something to wear to church. It seems that I always wear the same blue dress or khaki skirt. My friend thought I got a new black dress, but it's actually just my old black skirt with a black shirt that is kind of stretchy, so it was nice to have the white sweater with it.
Thank you again Mom!

Thursday, June 17, 2010

Family Pictures

I went to visit Summer for the weekend and she took some pictures for us. It's kind of strange but we haven't gotten any nice pictures of our little family since our wedding pictures 3 1/2 years ago.


Greg doesn't like taking pictures, so it took an extra long time, but I think we got some good ones in the end. This one is my favorite.


Summer is going to play with them in photoshop and fix them up to look professional. (So you won't see that I'm wearing pajama pants or that Greg is sitting on our red ice chest in some pictures.)

Thank you Summer!

Wednesday, June 9, 2010

The Best Buttermilk Biscuits!

Yes, another from the Sister's Blog. (Pink Blinking box on my sidebar)
These are wonderful warm out of the oven, and they are even good the next day cold! Greg put honey between the layers of this one. They are heavenly with butter and honey!


Deliciously Flaky Buttermilk Biscuits

2 cups all-purpose flour (9 ounces)
2 1/2 teaspoons baking powder
1/2 teaspoon salt
5 tablespoons chilled butter, cut into small pieces
3/4 cup fat-free buttermilk
3 tablespoons honey

1. Preheat oven to 400°.
2. Weigh or lightly spoon flour into dry measuring cups; level with a knife. Combine flour, baking powder, and salt in a large bowl; cut in butter with a pastry blender or 2 knives until mixture resembles coarse meal. Chill 10 minutes.
3. Combine buttermilk and honey, stirring with a whisk until well blended. Add buttermilk mixture to flour mixture; stir just until moist.
4. Turn dough out onto a lightly floured surface; knead lightly 4 times. Roll dough into a (1/2-inch-thick) 9 x 5–inch rectangle; dust top of dough with flour. Fold dough crosswise into thirds (as if folding a piece of paper to fit into an envelope). Reroll dough into a (1/2-inch-thick) 9 x 5–inch rectangle; dust top of dough with flour. Fold dough crosswise into thirds; gently roll or pat to a 3/4-inch thickness. Cut dough with a 1 3/4-inch biscuit cutter to form 14 dough rounds. Place dough rounds, 1 inch apart, on a baking sheet lined with parchment paper. Bake at 400° for 12 minutes or until golden. Remove from pan; cool 2 minutes on wire racks. Serve warm.